Upgrading your Windows Home to the Pro version can unlock additional features and functionalities.
Follow this step-by-step guide to seamlessly upgrade your operating system using CMD commands.
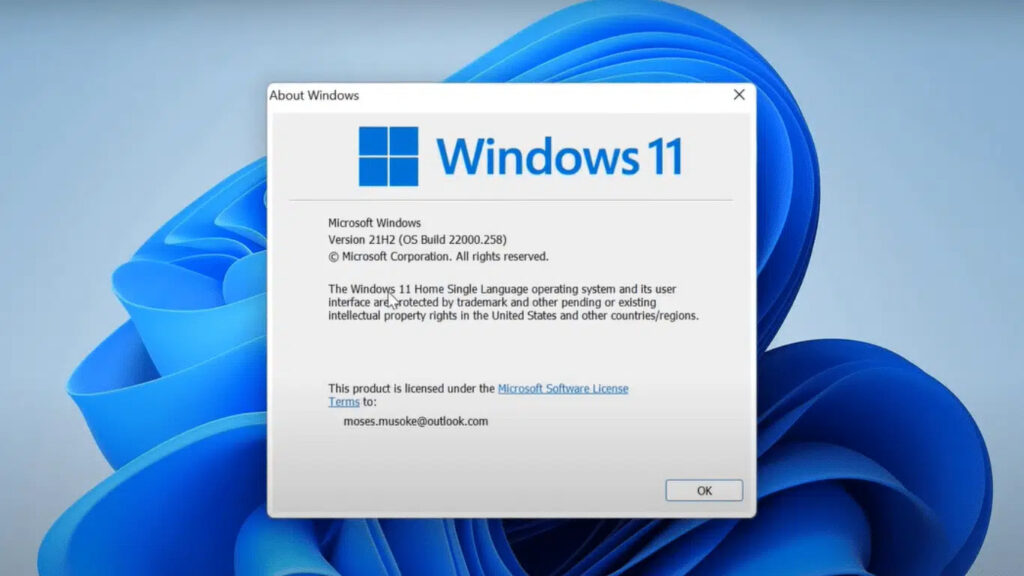
Disclaimer:
Before proceeding, ensure you have a backup of your important data. While this process is generally safe, it’s always a good practice to have a backup.
Step 1: Open Command Prompt with Administrative Privileges
1.Open Command Prompt: Right-click on the Start button
2.Run as Administrator: Select “Command Prompt (Admin)” from the menu.
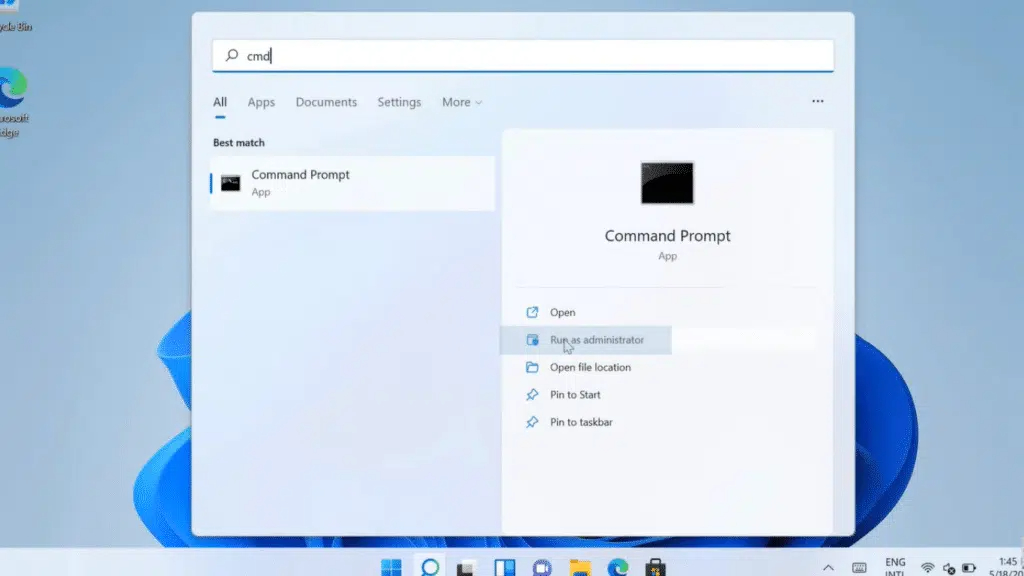
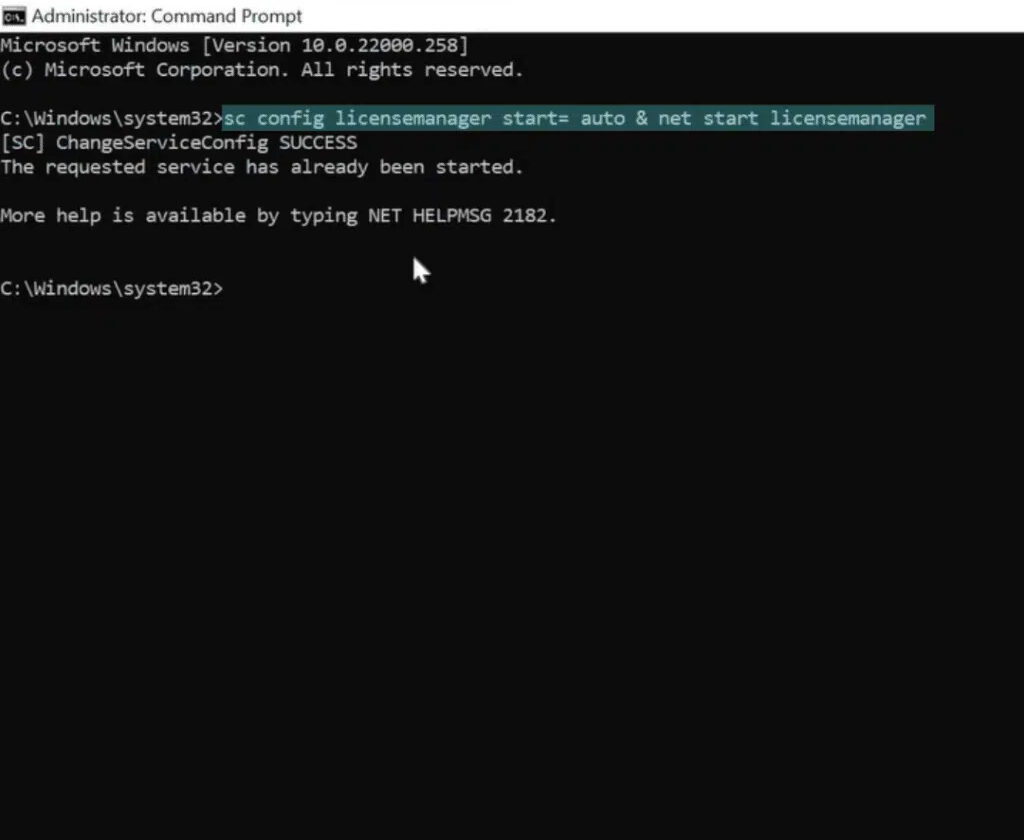
Step 2: Enter the Upgrade Command
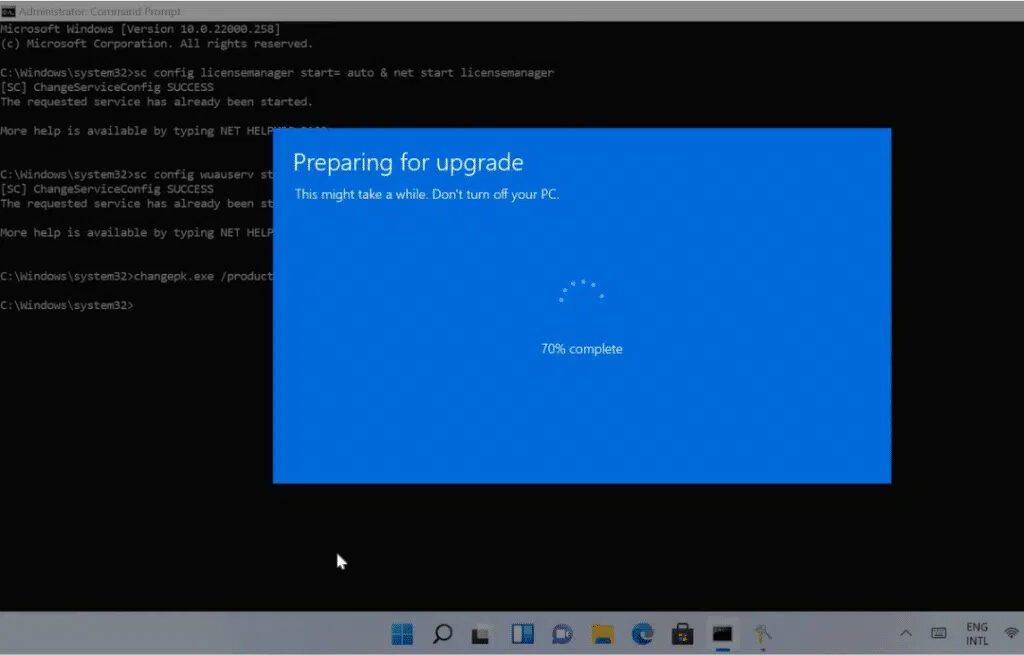
In the Command Prompt window, type the following command [ sc config licensemanager start= auto & net start licensemanager ] Press Enter.
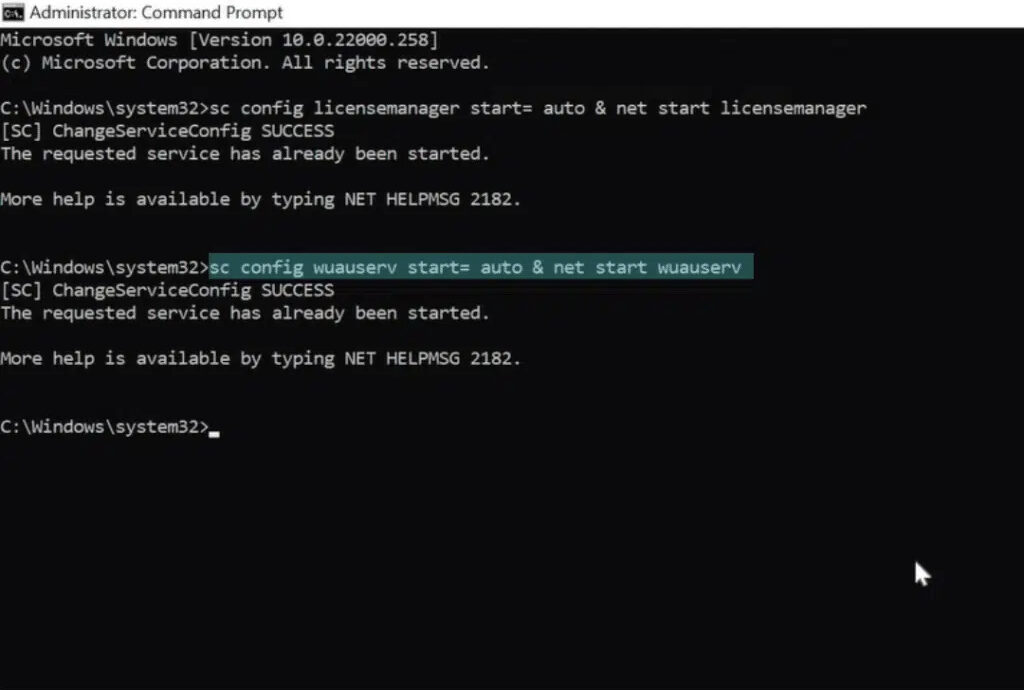
In the Command Prompt window, type the following command [ sc config wuauserv start= auto & net start wuauserv ] Press Enter.
Step 3: Upgrade Confirmation
In the Command Prompt window, type the following command to change the product key: changepk.exe /ProductKey VK7JG-NPHTM-C97JM-9MPGT-3V66T Press Enter.
Attention: This key is generic used only to convert your windows.
Step 4: Restart Your Computer
After the upgrade, restart your computer to apply the changes.
Step 6: Finalize Activation
Type the command to finalize the activation: slmgr /ato Press Enter.
Conclusion
Congratulations! You’ve successfully upgraded your Windows Home to the Pro version using CMD commands. Enjoy the additional features that come with the Pro edition.
